Printing the Proofer Check Target
When measuring a Proofer Check Strip, the Calibration status of the Proofer is checked. The Proofer Check Report will tell whether the Proofer is still calibrated correctly.
To print the Proofer Check Target:
1 Select a Proofer (e.g. Epson P5000) in the Output section of the modules window.
 |
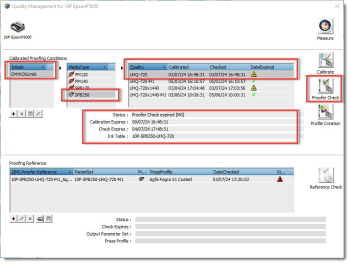
2 Double-click QMS. The Quality Management for Proofer window appears.
3 Select the ink set. The list of media types will now appear.
If the media you want to calibrate is not loaded, use the Apogee Client to load the media in the System Overview. Refer to “Loading Media”.
4 Select a media type (e.g. SPB250) and a quality mode (e.g. UHQ-720).
You will view details about the selected quality mode under the Calibrated Proofing Conditions table. If the Proofer has already been calibrated in the past for the selected quality mode, the Proofer Check button and Profile Creation button will also be enabled next to Calibration button.
 |
5 Click the Proofer Check button to print the Target.
 |
NOTE: This is only available when the selected paper type is loaded, and when the quality is either calibrated or the proofer check expired.
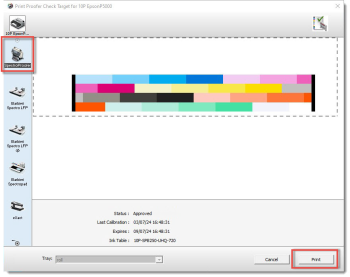
The following window will appear, showing a preview of the Proofer Check Target.
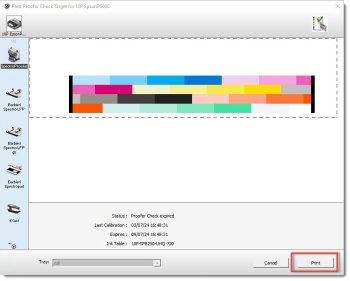 |
6 Click Print to print the Target. After a few seconds, the following message will appear:
 |
7 Click OK to complete the wizard.
NOTE: Using the Epson printers with inline spectrophotometers (Spectroproofer) will automatically measure the Calibration target after printing. In this case, also the calculation of the calibration table will be initiated automatically (no user interaction required).
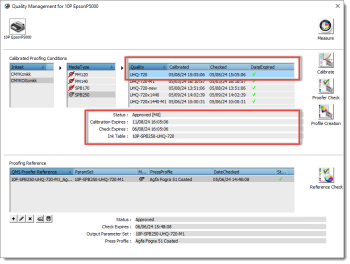
8 Consult “Proofer Check”, for details on measuring and interpreting the Proofer Check targets. The result of Proofer Check will be shown in the Quality Management window directly after the measurements. An accepted Proofer Check will show the green check mark icon and an unaccepted Proofer Check will show an error-message notifying the user. Refer to “Calibration Status” for the description of the icons.
 |
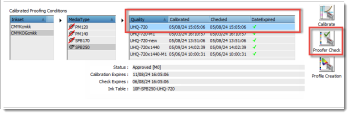
9 Select your recently calibrated quality and click the Proofer Check button.
NOTE: The Proofer Check button is only available when the calibration is valid. It is not possible to check expired or invalid calibrations.
 |
10 Select the measurement device and click Print to start the proofer check.
 |
11 QMS adapts the Proofer Check wedge to the measurement device and it will start printing automatically.
doc. version 14.0.1