Setting up the Closed Loop File Optimization
A Closed Loop Profile Optimization is done on an existing proofer profile created in QMS or ColorTune Output. The proofer should be in perfect working conditions and with an up-to-date calibration. It is also recommended that the original proofer profile is custom made in the same working conditions.
NOTE: A closed loop iteration includes the printing, measuring and creation of the closed loop profile.
Creating a Closed Loop Profile Optimization consists of the following steps:
To start the closed loop profile optimization
1 Select a Proofer (e.g. Epson P5000) in the Output section of the modules window.
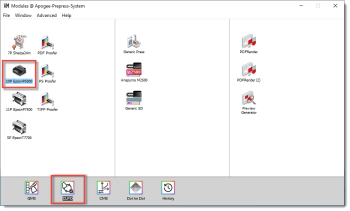 |
2 Double-click the CLPO (Closed Loop Profile Optimization) function button. The following window appears.
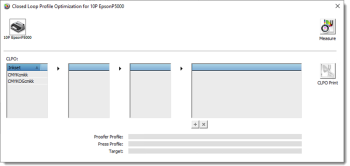 |
3 Select an ink set (e.g. CMYKOGcmkk).The list of media types will appear.
4 Select a media type (e.g. SPB250) and a quality mode (e.g. UHQ-720-M1).
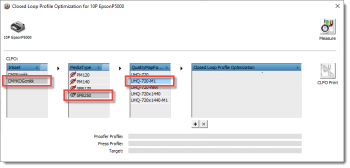 |
NOTE: Each Closed Loop Profile Optimization is depended on the selected Ink Set, Media Type and Quality Mode.
5 Click the + button to start a new Closed Loop Profile Optimization.
 |
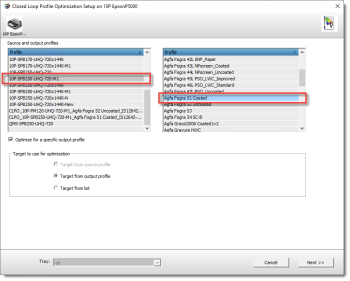
6 Select the original proofer profile from the list:
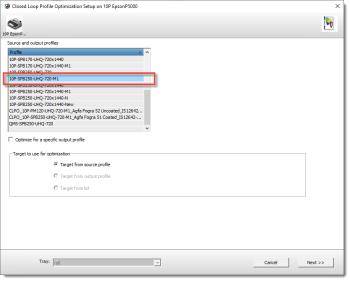 |
The user can choose between two flows:
•A closed loop profile optimization is generally performed against itself, if the option Target from source profile is chosen.
The optimization is done for all color points in the gamut of the proofer profile. More iterations will have to be done because the complete gamut is optimized.
The optimization is done for all color points in the gamut of the proofer profile. More iterations will have to be done because the complete gamut is optimized.
•Alternatively, a closed loop profile optimization can be done for a specific press profile. The user must enable the option Optimize for a specific output profile to select the press profile. The optimization will only be done for the color points in the gamut of the proofer profile restricted to the gamut of the press profile.
 |
7 Select the target to be used for the optimization from one of the following options and click the Next button.
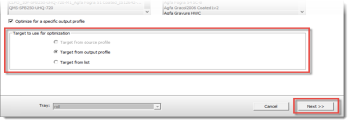 |
•Target from source profile: the profile creation target of the original proofer profile will be used.
 |
NOTE: The complete list of available profile creation targets will be shown when the target of the original proofer profile cannot be retrieved.
•Target from output profile: the profile creation target of the selected press profile will be used.
 |
NOTE: The complete list of available profile creation targets will be shown when the target of the output profile cannot be retrieved.
•Target from list: the target can be selected from a list of available profile creation targets.
 |
The selected target remains valid for each iteration and cannot be changed during the successive iterations.
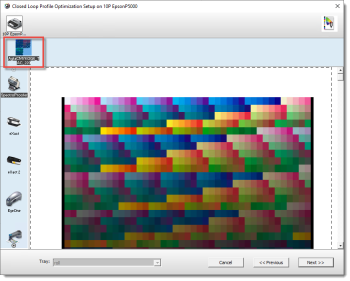
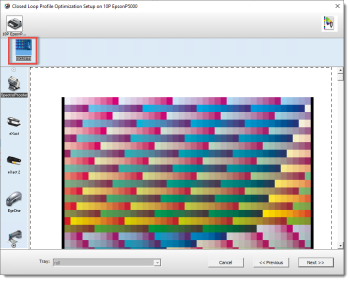
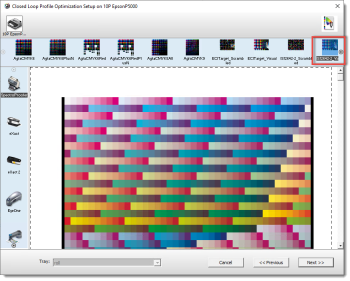
8 Select the measurement device (e.g. SpectroProofer), and double-click to change the target specs:
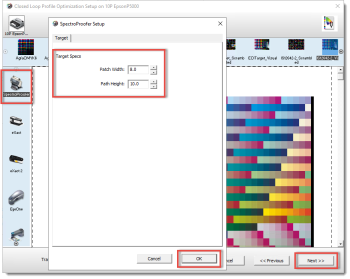 |
NOTE: Closed loop profile optimization requires a lot of measurements (about 5000 to 10000 patches) so it is highly recommended to use a modern scanning spectrophotometer. Although it is possible with a strip reading spectrophotometer (i1 Pro Handheld), the chances of reading errors are so high that a successful optimization is difficult.
NOTE: The available target parameters depend on the selected measurement device.
9 Click the OK button.
10 Click the Next button. The name of the closed loop optimized profile appears.
NOTE: You can customize the profile name, but be sure that it is a clear and understandable name.
 |
11 Click the Save button to save the Closed Loop Profile Optimization.
The Closed Loop Profile Optimization is now available in the list:
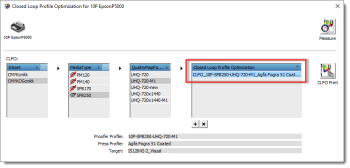 |
NOTE: A message appears when the Closed Loop Profile Optimization name already exists. You need to assign a new profile name in order to continue.
doc. version 14.0.1